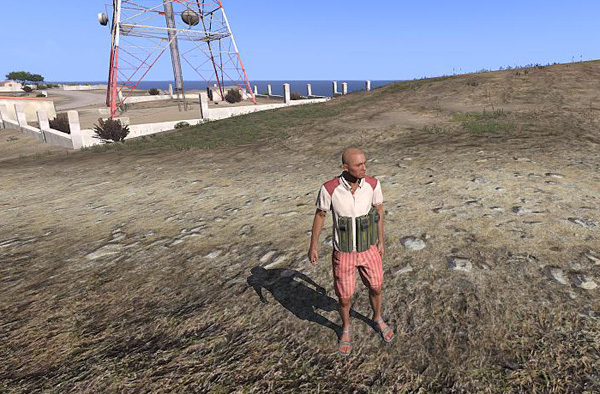
ArmA’s attachTo command is a lot of fun. It allows to attach almost anything to anything, and the best bit is the attached parts then are all moving together. To demonstrate the principle I’ve attached 3 sticks of C4 to a civilian.
The attachTo command takes following arguments:
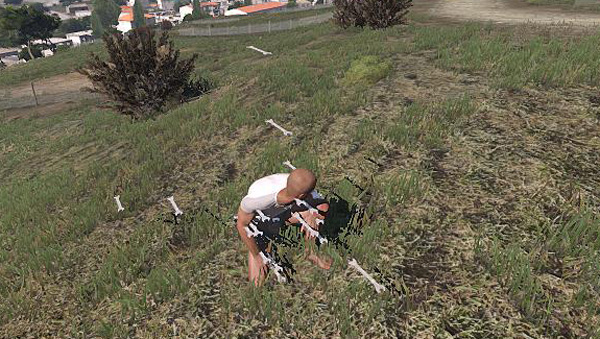
If you skip memory point, your object will be attached to the default centre of another object, if you indicate valid memory point, it will be attached to that point on the model. Offset array is used to tweak the position of the attached object. Offset is relative to the point of attachment. As demonstrated on the picture below, where I used wrenches to show different memory points, character models have quite a few memory points.
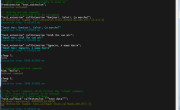
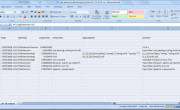
For my C4 example I used memory point “Pelvis” with slight further tweak of C4 position. To find memory points for any object, open its model in Oxygen 2 and select Memory LOD, it will then give you the list of all memory points to use with attachTo (not all listed memory points work for some reason but most do). ArmA 3 example model has the following memory points listed in Memory LOD:
aiming_axis, aimPoint, BubblesDir, BubblesEffect, camera, footstepL, footstepR, granat, granat2, Head, head_axis, lankle, launcher, leaning_axis, LeftFoot, LeftForeArm, LeftForeArmRoll, LeftHand, LeftHandMiddle1, LeftShoulder, lelbow, lelbow_axis, lfemur, lknee, lknee_axis, lwrist, Neck, Pelvis, pilot, rankle, rearm, rearm2, relbow, relbow_axis, rfemur, RightFoot, RightForeArm, RightForeArmRoll, RightHand, RightHandMiddle1, RightShoulder, rknee, rknee_axis, rwrist, Spine3, water_surface, Weapon
Attaching an object to an object will place attached object in default orientation, which may not be what is desired. In C4 example, the default C4 orientation is horizontal, facing up and aligned with the X axis. I needed it vertical, facing away. This is where the setVectorDirAndUp command is needed. I should mention as well that this command can be replicated by calling two separate commands, setVectorDir and setVectorUp, however it is better to use the combined one for the reasons I’ll explain later. So to better understand how this all vector mambo jambo works, I’ve made a reference diagram.
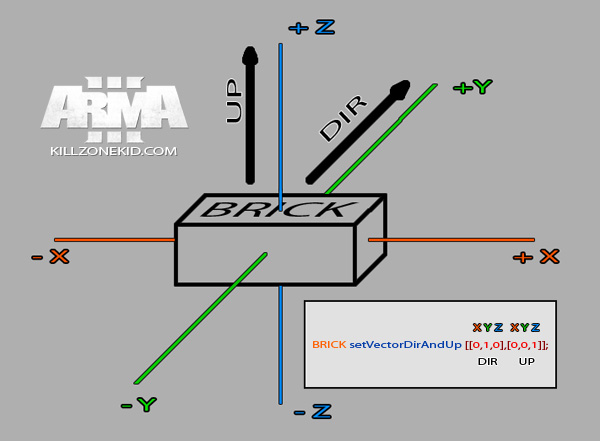
The setVectorDirAndUp command needs 2 vector arrays, one for vectorDir and one for vectorUp. Default object orientation will always have vectorDir pointing forward (North) along Y axis and vectorUp pointing up along Z axis as shown on the diagram. When attaching object to an object the axes are relative to the object that gets the attachment. If it is player object for example, then X goes from left to right, Y goes from back to front, and Z goes from down up. So, for example, in order to rotate our BRICK on Z axis left or right, we need to change its vectorDir but leave vectorUp unchanged.
Notice how in the last example you have to synchronously change both vectorDir and vectorUP. If you make mistake here and produce conflicting command (which is not impossible) the object orientation will go back to default. This is why it is better to use one combined vector set command than 2 separate commands. More complicated orientation:
As you can see, you can rotate any degree by simply changing ratio between axes. 0.5:0.5 will give you 45 degrees. To make it 30 you will have to go 0.33:0.66.
Putting 2 and 2 together, in order to attach 3 sticks of C4 to a player with correct orientation and formation, the code should look something like this:
This is it. You can also check some of my video clips where I used attachTo and setVectorDirAndUp. Or yeah, to detach attached objects use detach command. I’m also filing this under Tools as well because of orientation helper diagram.
Enjoy,
KK
UPDATE: As I have lately discovered you cannot use setDir command on the same object neither before nor after setVectorDirAndUp command, because it would cancel the command. And why would you want to anyway? setVectorDirAndUp alone should be sufficient for any orientation.